 Winter can be rough on your homes, especially your hardscape which is perpetually exposed to the elements. When the last signs of cold weather melt away, you can find yourself heading into spring with pitted driveways, cracked asphalt and crumbling landscaping. So it’s important to make repairs before summer heats up and puts further stress on these important areas. Doing your own hardscape repairs isn’t difficult. You’ll save money, and doing it yourself gives you the opportunity to get some outdoor exercise this spring. You may need professionals to pour new asphalt but repairing existing asphalt in your hardscape can be done by yourself. For pothole repairs, start by sweeping and removing any loose materials from the area needing repair. Next, pour ready-mix asphalt in the trouble spot and spread evenly to a depth of no more than 2 inches at a time. Use the back side of a shovel to compact the material. And since there is no oily tracking with this material, just drive over it a few times with your vehicle. The compaction causes the product to cure into an effective patch. For deeper potholes, keep repeating in 2 inch amounts until completely filled. Patio pavers and bricks can shift, sink or raise, and even crack during a tough winter. If your hardscape has a sand underlay, fixing problems is relatively easy. For broken or cracked pavers, simply remove the damaged pieces, check that the sand is level, and fill the gap with a new paver or brick. If your patio has become uneven over time, you’ll need to lift all the uneven pavers, level the sand beneath – you may have to add sand – and then put the pavers back atop the now-level sand. Concrete is a common hardscape material around homes across the country. Concrete driveways, walkways and steps can all succumb to cracking, crumbling, chipping and spalling after a harsh winter. Fortunately, concrete is an easy material to fix, and patching a problem while it’s small may help prevent a much costlier repair or even replacement down the road. To repair cracks of virtually any size, simply apply an easy-to-use product. Power wash cracks to remove debris. For larger fissures, it may be necessary to use a hammer and chisel to remove crumbling concrete and produce a clean, clearly delineated repair site. For resurfacing old, damaged or spalled concrete, Flo-Coat resurfacing material by Sakrete provides an easy alternative to costly replacement. Simply remove loose materials from the surface, mix the material, dampen the concrete surface with water and pour the resurfacing material onto the concrete slab. Use a long-handled squeegee to spread the mixture evenly. Be sure to protect expansion and control joints with tape to prevent filling. Whether your brick, stone or cinderblock retaining wall is acting as a retaining wall or simply a decorative one, moisture is not its friend. If your region has had a lot of snow this past winter, check your landscaping walls for damage such as cracks in mortar, shifted stones or crumbling bricks. Repairing cracked mortar is easy as long as the bricks or stones it secures remain in good position. A few simple repairs will help ensure your home’s hardscape is in good shape, and ready for whatever summer weather brings.
0 Comments
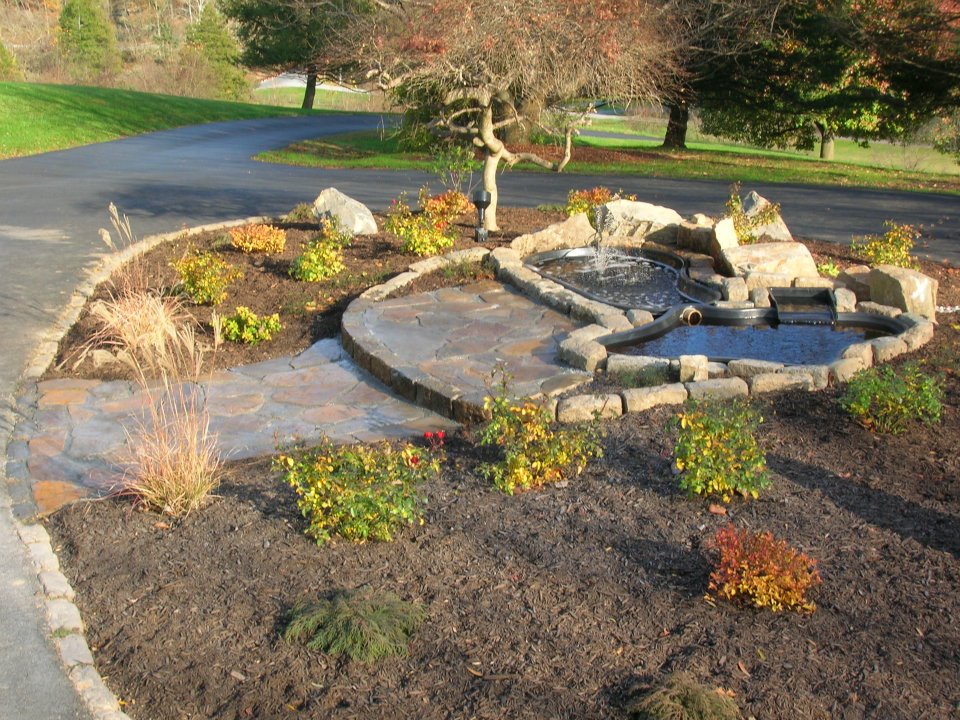
 Is your walk patio or outdoor living spaces are in need of repair or maintenance and you’re stumped about what to do? Relax, it can be relatively easy. Those with experience in walk patio repair will tell you all you need is to start with an old fashion inspection of the problem. It could be a sunken patio base or a chipped piece of concrete or deteriorating mortar. Whatever the case, repairs will come easy once you look closely into the problem. The reason is that assessing the basic issues leads to solutions. Here are five ways that can be easily worked with walk patio repairs. The first thing you need to do is look very closely at your existing mortar joints. Look at the color of the sand. Believe it or not, not all sand looks the same. Sand is simply a collection of very small rock particles, and the color of individual sand particles can be vastly different if the particles come from a variety of black, red, white and gray rocks. Visit different building supply businesses and/or sand and gravel pits, and try to find sand that matches both in color and particle size. The second thing is to make a very rich mixture that will be exceedingly strong. Once you have the correct sand, mix it one part of it to one part of pure Portland cement. You need this strength, even though you do not get too many extremely cold days. The extra cement also helps make the mortar flow easily from the tip of the special grout bag you will use to fill the defective mortar joints. Mortar grout bags are just like icing bags used by professional cake decorators. They are larger than an icing bag, and have a metal cone tip that has a one-half-inch hole at the end. The third thing is do not work on a hot, sunny windy day. Experts recommend working on cloudy days. The mortar will dry too rapidly, especially where you are filling slight depressions in the existing mortar joints. Once you have the mortar mixed, lightly spritz the mortar joints you are going to fill. Do not get them too wet, just slightly damp. Fill the grout bag half way with the mortar mix, and apply slight pressure to make the mortar mix flow just as toothpaste oozes from its tube. If you can’t get the mortar to flow, you need to add more cement and/or slightly more water. The mortar mix needs to be fairly wet so that it doesn’t clog the grout bag tip. Fourth thing is to check out the different colored pieces of sand. Each grain is a small piece of solid rock. The sand for the repair job should match the existing sand as close as possible in grain size, shape and color. Carefully guide the grout bag tip so that you apply new mortar only to the joint. Move the bag along and make sure you apply mortar so it rises above the level of the brick by about one-quarter inch. Fifth and the most important thing is to take the proper steps to ensure the sealing process is done correctly otherwise the seal will not be as strong and will eventually fail. In terms of keeping your patio durable and long lasting, sealing is best. Before patio sealing can begin the first step is to clean the patio surface of all dirt and debris as well as any other stains or paints. Using a power washer is generally the best way to do much of the removal work however the surface must be completely dry before the patio sealing can begin. Once the initial sealing has begun, the best conditions are during mild temperatures where no rain is expected. 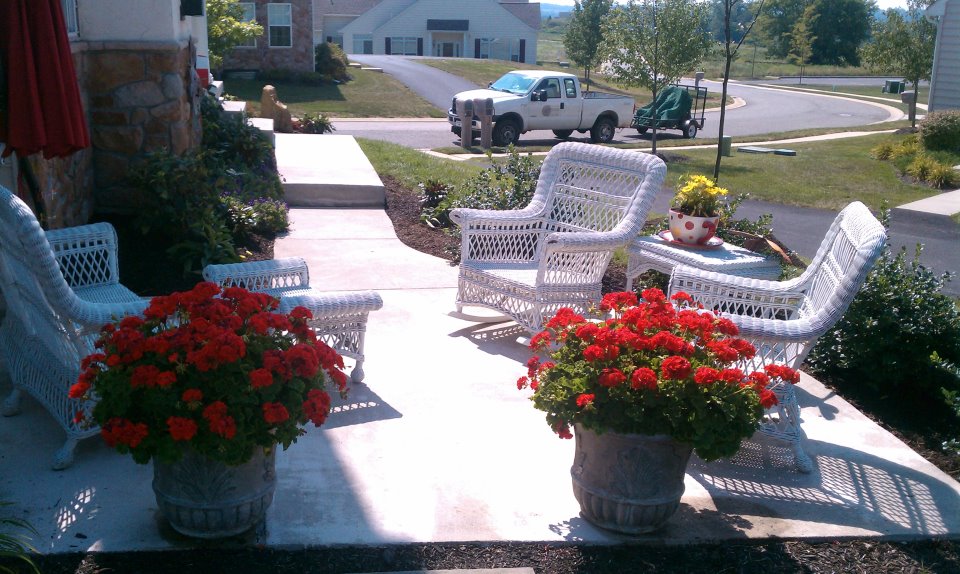 A well-designed patio makes for a beautiful home. It’s the first home feature that greets first-time quests and so they draw the conclusion that you keep an ideal home if you have a well-designed outdoor area. For yourself and family, a great patio design or an outdoor living spaces are also provides as a great place for relaxing, outdoor entertaining, or simply enjoying the beauty of nature.
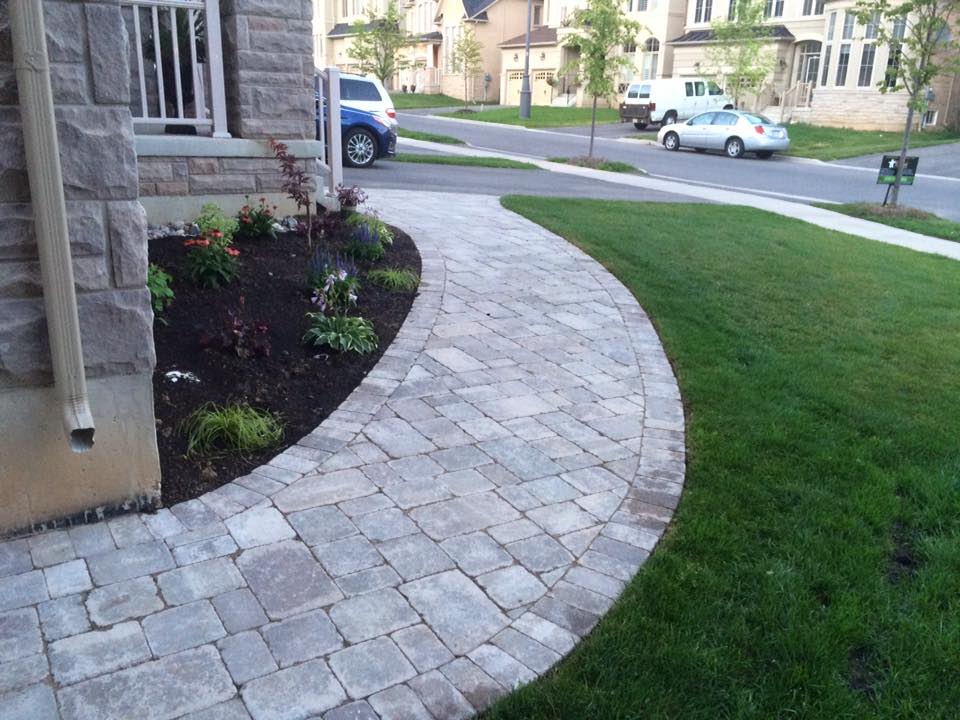
There is a perfectly suited for every home, lifestyle, and budget. Patios can be designed in every shape, color, size, and material imaginable. Before you start laying down the first pavers or pouring concrete, you should consider the options available from professionals doing this kind of work. Today’s patios are more versatile and offer a wide range of options in design. First, you will need to formulate a plan of action. Brainstorm and pinpoint what sort of outdoor space would best suit your lifestyle. Banish the notion that this are to be strictly on an outdoor space. Canopies, awnings, pergolas and umbrellas can be added for shade. Additionally, patios can offer up a variety of options for entertaining, dining, and seating. The addition of patio ideas such as an outdoor kitchen, a fire pit, built-in seating, and planters should be considered before construction begins. When planning a patio design project, you are faced with a barrage of outdoor living spaces ideas and choices in designs. From the options in materials, patio decor, furniture, and various choices in its design, there are many ways to customize your outdoor living space. Modern paved outdoor areas are made with the use of a vast variety of materials such as stone, cement, wood, slate, sandstone, brick or granite. The possibilities are seemingly endless when considering the options for constructing your patio or space for outdoor living. Every project begins by building a solid base. This first step is crucial and if mishandled may lead to a space that does not last more than a year. The base of these may either be constructed with gravel, sand, or concrete. But no matter what kind of material you use, the base should be from six to eight inches deep. Concrete can be used as a flooring material for the patio, and can be surprisingly versatile. Concrete, can be painted, shaped, and formed into patterns. Alternatively, interlocking stone can be used as a base. Stones have become an appealing option in recent years, and can help to properly drain rainwater away from the home. The sturdy wood pergola can also be used. Pergola shaded to perfection has just the right amount of fiery charm. The concrete slabs form a minimalist backdrop to the sleek lines of the modern outdoor furnishings. The monochromatic furnishings and planters are contrasted by bright and fiery pops of red. The cherry stain on the pergola perfectly echoes the fiery theme. Though this area is brimming with masculine elements, the result is that of a charming and elegant retreat. A good design is a patio that reflects all the best elements present in modern design. There are clean lines and a modern use of concrete embellishments form the foundation for this modern seating area. The bold use of modern materials is subdued by the refreshing additions of water and the lovely verdant hues present in the garden. When designing your perfect patio, remember that sometimes unlikely mixes make the best matches. |
Ross Causey
Ross, the President of Garden Square Landscaping, Inc., has enjoyed the design and build aspects of a landscape construction company here in Southern Chester County for 20 years. A member of the Kennett Square Lions Club, Ross gives back to the community. Ross attended the University of Delaware and is a member and certified installer of ICPI and NCMA. In addition to this as a certified instructor for both organizations he has the opportunity to instruct contractors, manufacturers, and distributors across the United States. Ross lives and works in Kennett Square with his wife and 2 children. Archives
June 2017
Categories
All
|
 RSS Feed
